PyWebIO
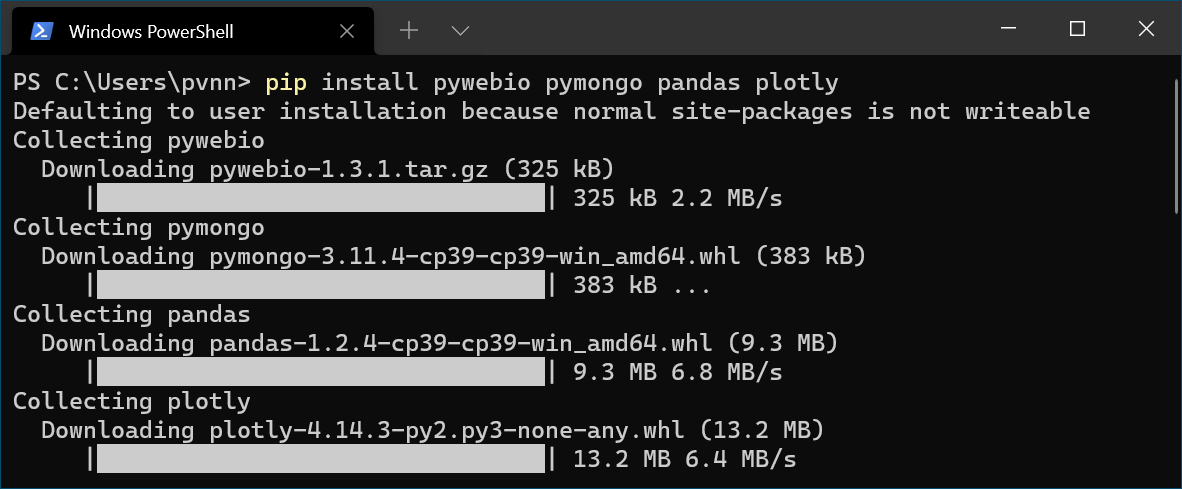
Start by installing PyWebIO using pip install -U PyWebIO and importing the following modules:
from pywebio.output import *
from pywebio.input import *
Popups
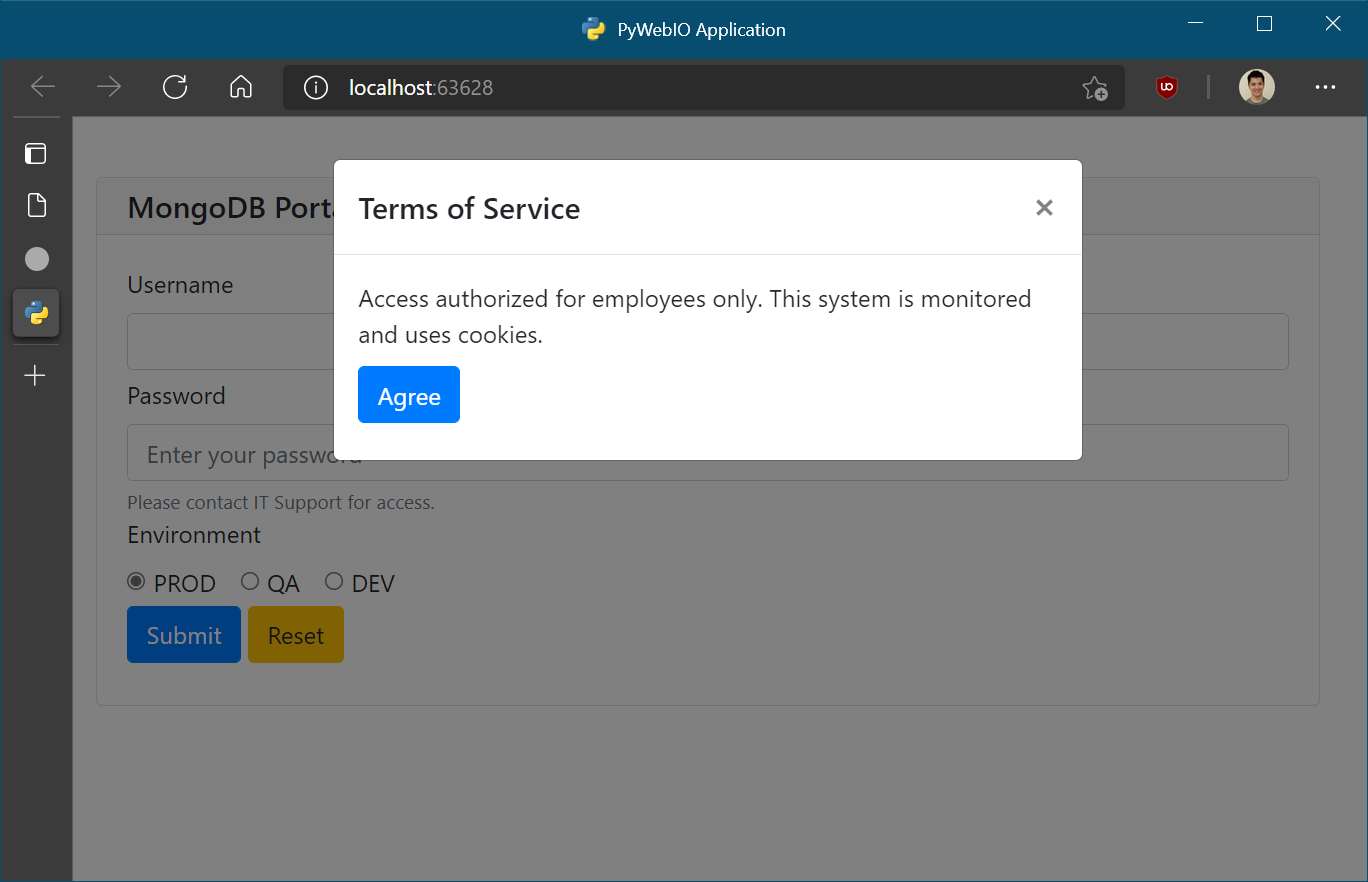
To start your webapp with a warning popup, for privacy policy or cookies usage for example, try this:
# Initial Popup message
def warning():
    popup("Terms of Service", [
        put_text("Access authorized for employees only. This system is monitored and uses cookies."),
        put_buttons(["Agree"], onclick=lambda _: close_popup())
    ])
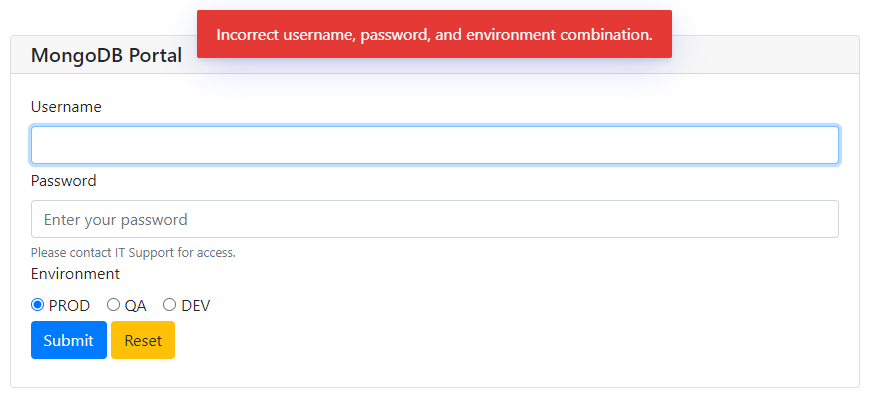
Login Screen
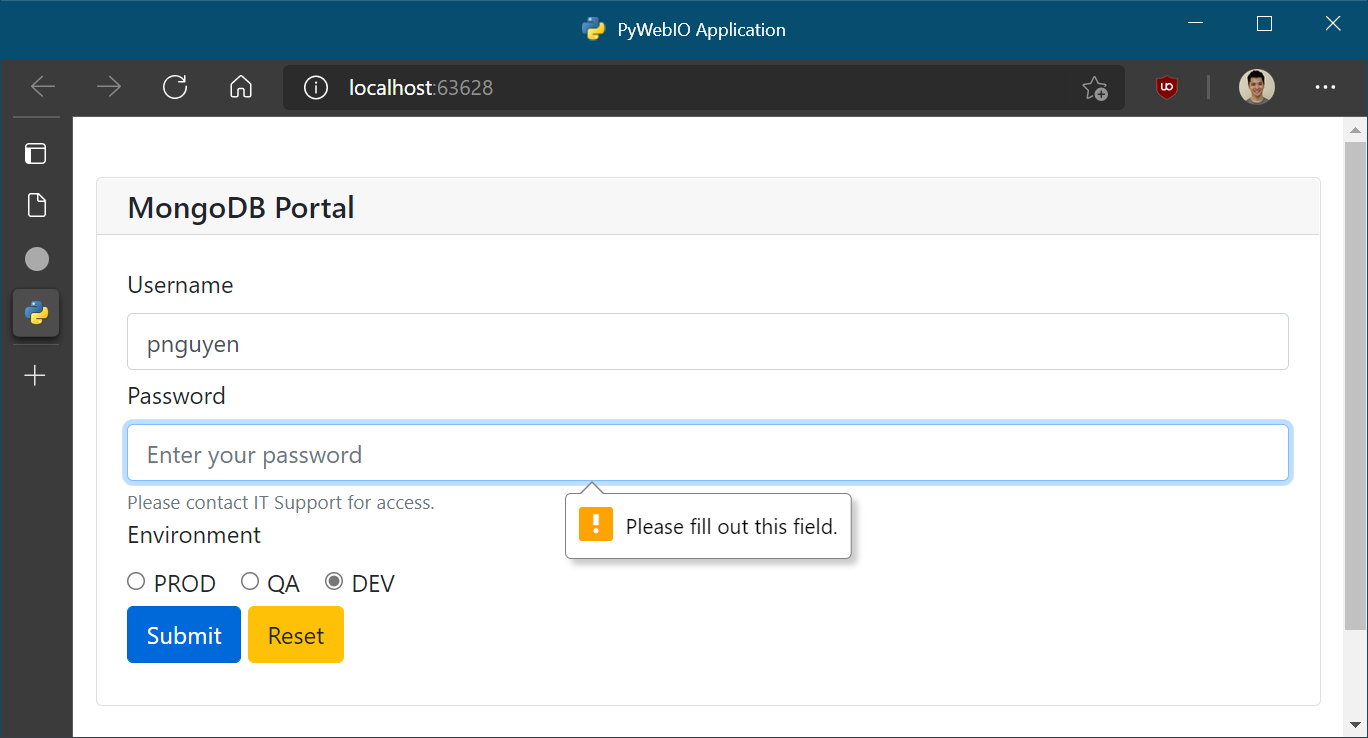
You can make a login screen using input_group to get username and password input and store in a dictionary object. As well, you can add radio buttons to change the options for logging in.
def login():
    credentials = input_group("MongoDB Portal", [
        input("Username", name="username"),
        input("Password", name="password",
            type=PASSWORD,
            placeholder="Enter your password",
            help_text="Please contact IT Support for access.",
            required = True
            ),
        radio("Environment", options=["PROD", "QA", "DEV"], value="PROD", inline=True, required=True, name="env")
        ])
Authenticate with MongoDB
When a user clicks submit, a loading animation is displayed while connecting to MongoDB. You’ll need PyMongo for this, so you can install it with pip install pymongo. Remember to import this module before proceeding. In this example, we use the sample data from MongoDB’s sample_analytics database.
    # Show loading animation while connecting to MongoDB
    with put_loading(shape='border', color='dark'):

        from pymongo import MongoClient

        username = credentials.get("username")
        password = credentials.get("password")

        global env, database, cluster, db # Need these global variables later
        env = credentials.get("env")
        database = "sample_analytics"

        # Radio button options
        if env == "PROD":
            host = "prod.cluster.mongodb.net/"
        elif env =="QA":
            host = "qa.cluster.mongodb.net/"
        elif env == "DEV":
            host = "dev.cluster.mongodb.net/"

        uri = ("mongodb+srv://" + username + ":" + password + "@" + host + database)
        cluster = MongoClient(uri)
        db = cluster[database]

        # Use this to check if connection to MongoDB is successful
        collections = db.list_collection_names()
Starting a Session
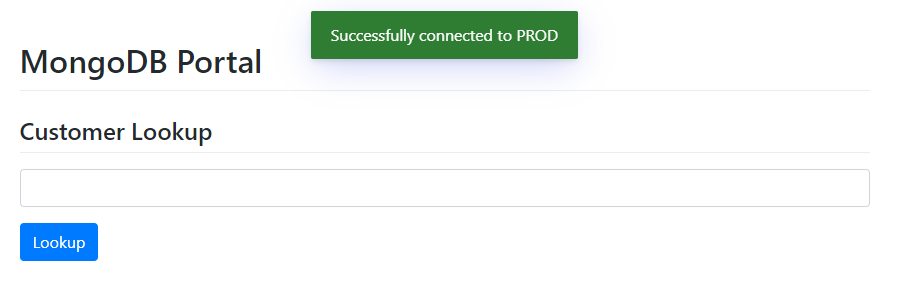
We attempt to start a session by listing the collections in a MongoDB database. If connection to MongoDB is unsuccessful, we add a counter for the number of attempts, show an error message, then let the user try logging in again. If the number of attempts exceeds a specific number, in this case 1 attempt, display an error page. Otherwise, if there is no errors when making the connection to MongoDB, show a successful message, and show the “customer lookup” input box.
# Start session
def session(attempts=0):
    if attempts > 1: return put_markdown('# Not authorized!')
    try:
        login()
    except:
        attempts+=1
        toast("Incorrect username, password, and environment combination.", color="error")
        session(attempts)
    else:
        toast("Successfully connected to " + env, color="success")
        put_markdown("# MongoDB Portal")
        getCustomers()
Pinned Items
You can pin input fields with the following.
def getCustomers():
        put_markdown("## Customer Lookup")
        put_input("accounts", type=NUMBER)
        put_buttons(["Lookup"], lambda _: lookupAccounts(pin.accounts))
        hold()
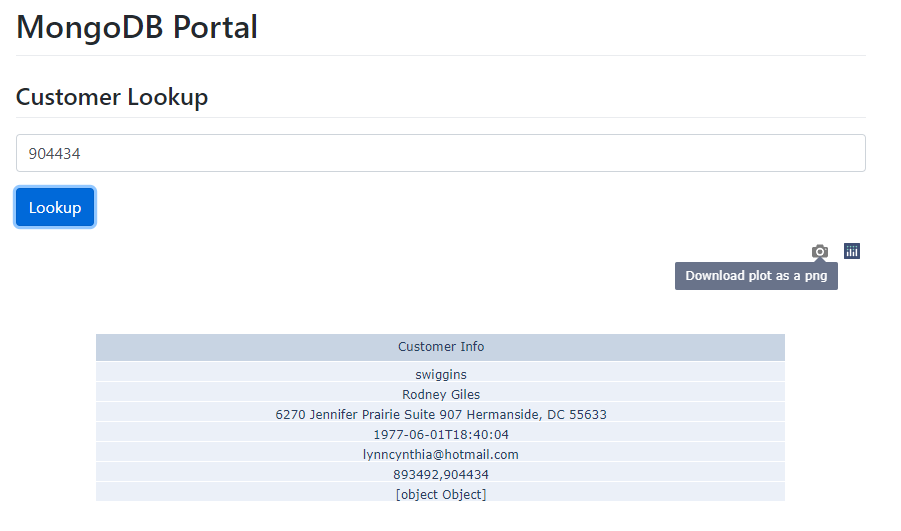
Lookup Function
THe lookup function takes account_number input from the user and the customers variable is mapped to the customers collection in MongoDB. Then, we build a pipeline to get JSON data from MongoDB.
def lookupAccounts(account_number):
    with use_scope('search_result', clear=True):
        with put_loading(shape='border', color='dark'):
            customers = db.customers

            pipeline = [
                { "$match" :
                    { "$and" : [
                        { "accounts": account_number },
                    ]}
                },
                { "$project" : { "_id": 0 } }
            ]
Visualization
Since we get back JSON data from MongoDB, we can use pandas to format the dataframe, then use it to make charts or tables.
            import pandas as pd
            data = pd.DataFrame(list(customers.aggregate(pipeline)))
            columns = data.columns.tolist()
            rows = data.values.tolist()

            # Show interactive data visualizations
            from pywebio.output import put_html
            import plotly.graph_objects as go

            fig = go.Figure(data=[go.Table(header=dict(values=["Customer Info"]), cells=dict(values=rows))])
            html = fig.to_html(include_plotlyjs="require", full_html=False)
            put_html(html)
Page Layout
Finally, time to add webapp flow. Inthis case, the webapp starts by displaying a warning popup, then attempts to start a session.
warning()
session()
Favicon
Feel free to change your favicon to personalize the webapp.
# Change favicon.ico
pywebio.session.run_js("$('head link[rel=icon]').attr('href', image_url)", image_url="https://www.python.org/static/favicon.ico")